Your wedding day is precious, and you want to ensure every moment is perfect. But with so many details to keep track of, it’s easy to get overwhelmed. That’s where a wedding planning timeline comes in! By planning the day’s events, you can ensure that everything runs smoothly and you have plenty of time to enjoy each special moment.
Fear not; we’ve got you covered with our step-by-step guide to creating the perfect timeline for your big day.”
Step 1: Prioritize wedding tasks
To create a wedding planning timeline, it’s advisable to begin with the essential information about your wedding schedule. You can start by listing the fixed details you have already confirmed, such as the ceremony and reception’s start and end time, when the venue will be available for setup, and when everything should be cleared out by the end of the evening. By organizing these vital elements at the outset, you can establish an essential structure for the rest of your wedding schedule.
Step 2:Work backward
Once you have your ceremony start time, work backward to figure out what time you need to start getting ready, what time your vendors will need to arrive, and what time you need to start wrapping up the reception. Be sure to factor in transportation time if you must travel between locations. This will help you determine the order of events for the day and ensure that everything runs smoothly.
Pro tip: If your wedding is scheduled to start at 4:00 pm and you want to have a first look photo session with your partner beforehand, you might decide to start getting ready at 11:00 am
Step 3: Allocate time for each activity
Now that you have a rough wedding timeline, it’s time to allocate time for each activity. This includes getting ready, transportation, the ceremony, cocktail hour, dinner, speeches, dancing, and any other special moments you want. Be realistic about the time needed for each activity and build some buffer time in case of delays. Remember that some activities may take longer than expected, and it’s essential to be flexible and adaptable throughout the day. These are rough timelines that can help you out:
Allocate 1-2 hours for hair and makeup for the bride and 30-45 minutes for each bridesmaid. Remember to factor in time for getting dressed and taking photos.
Allocate 30-45 minutes for travel time between locations if needed.
Allocate 30-60 minutes for the ceremony, depending on whether you’re having a religious or secular ceremony and if you include any unique elements like readings or rituals.
Allocate 1-2 hours for cocktail hour, depending on how many guests you have and whether you’re serving appetizers or a full meal.
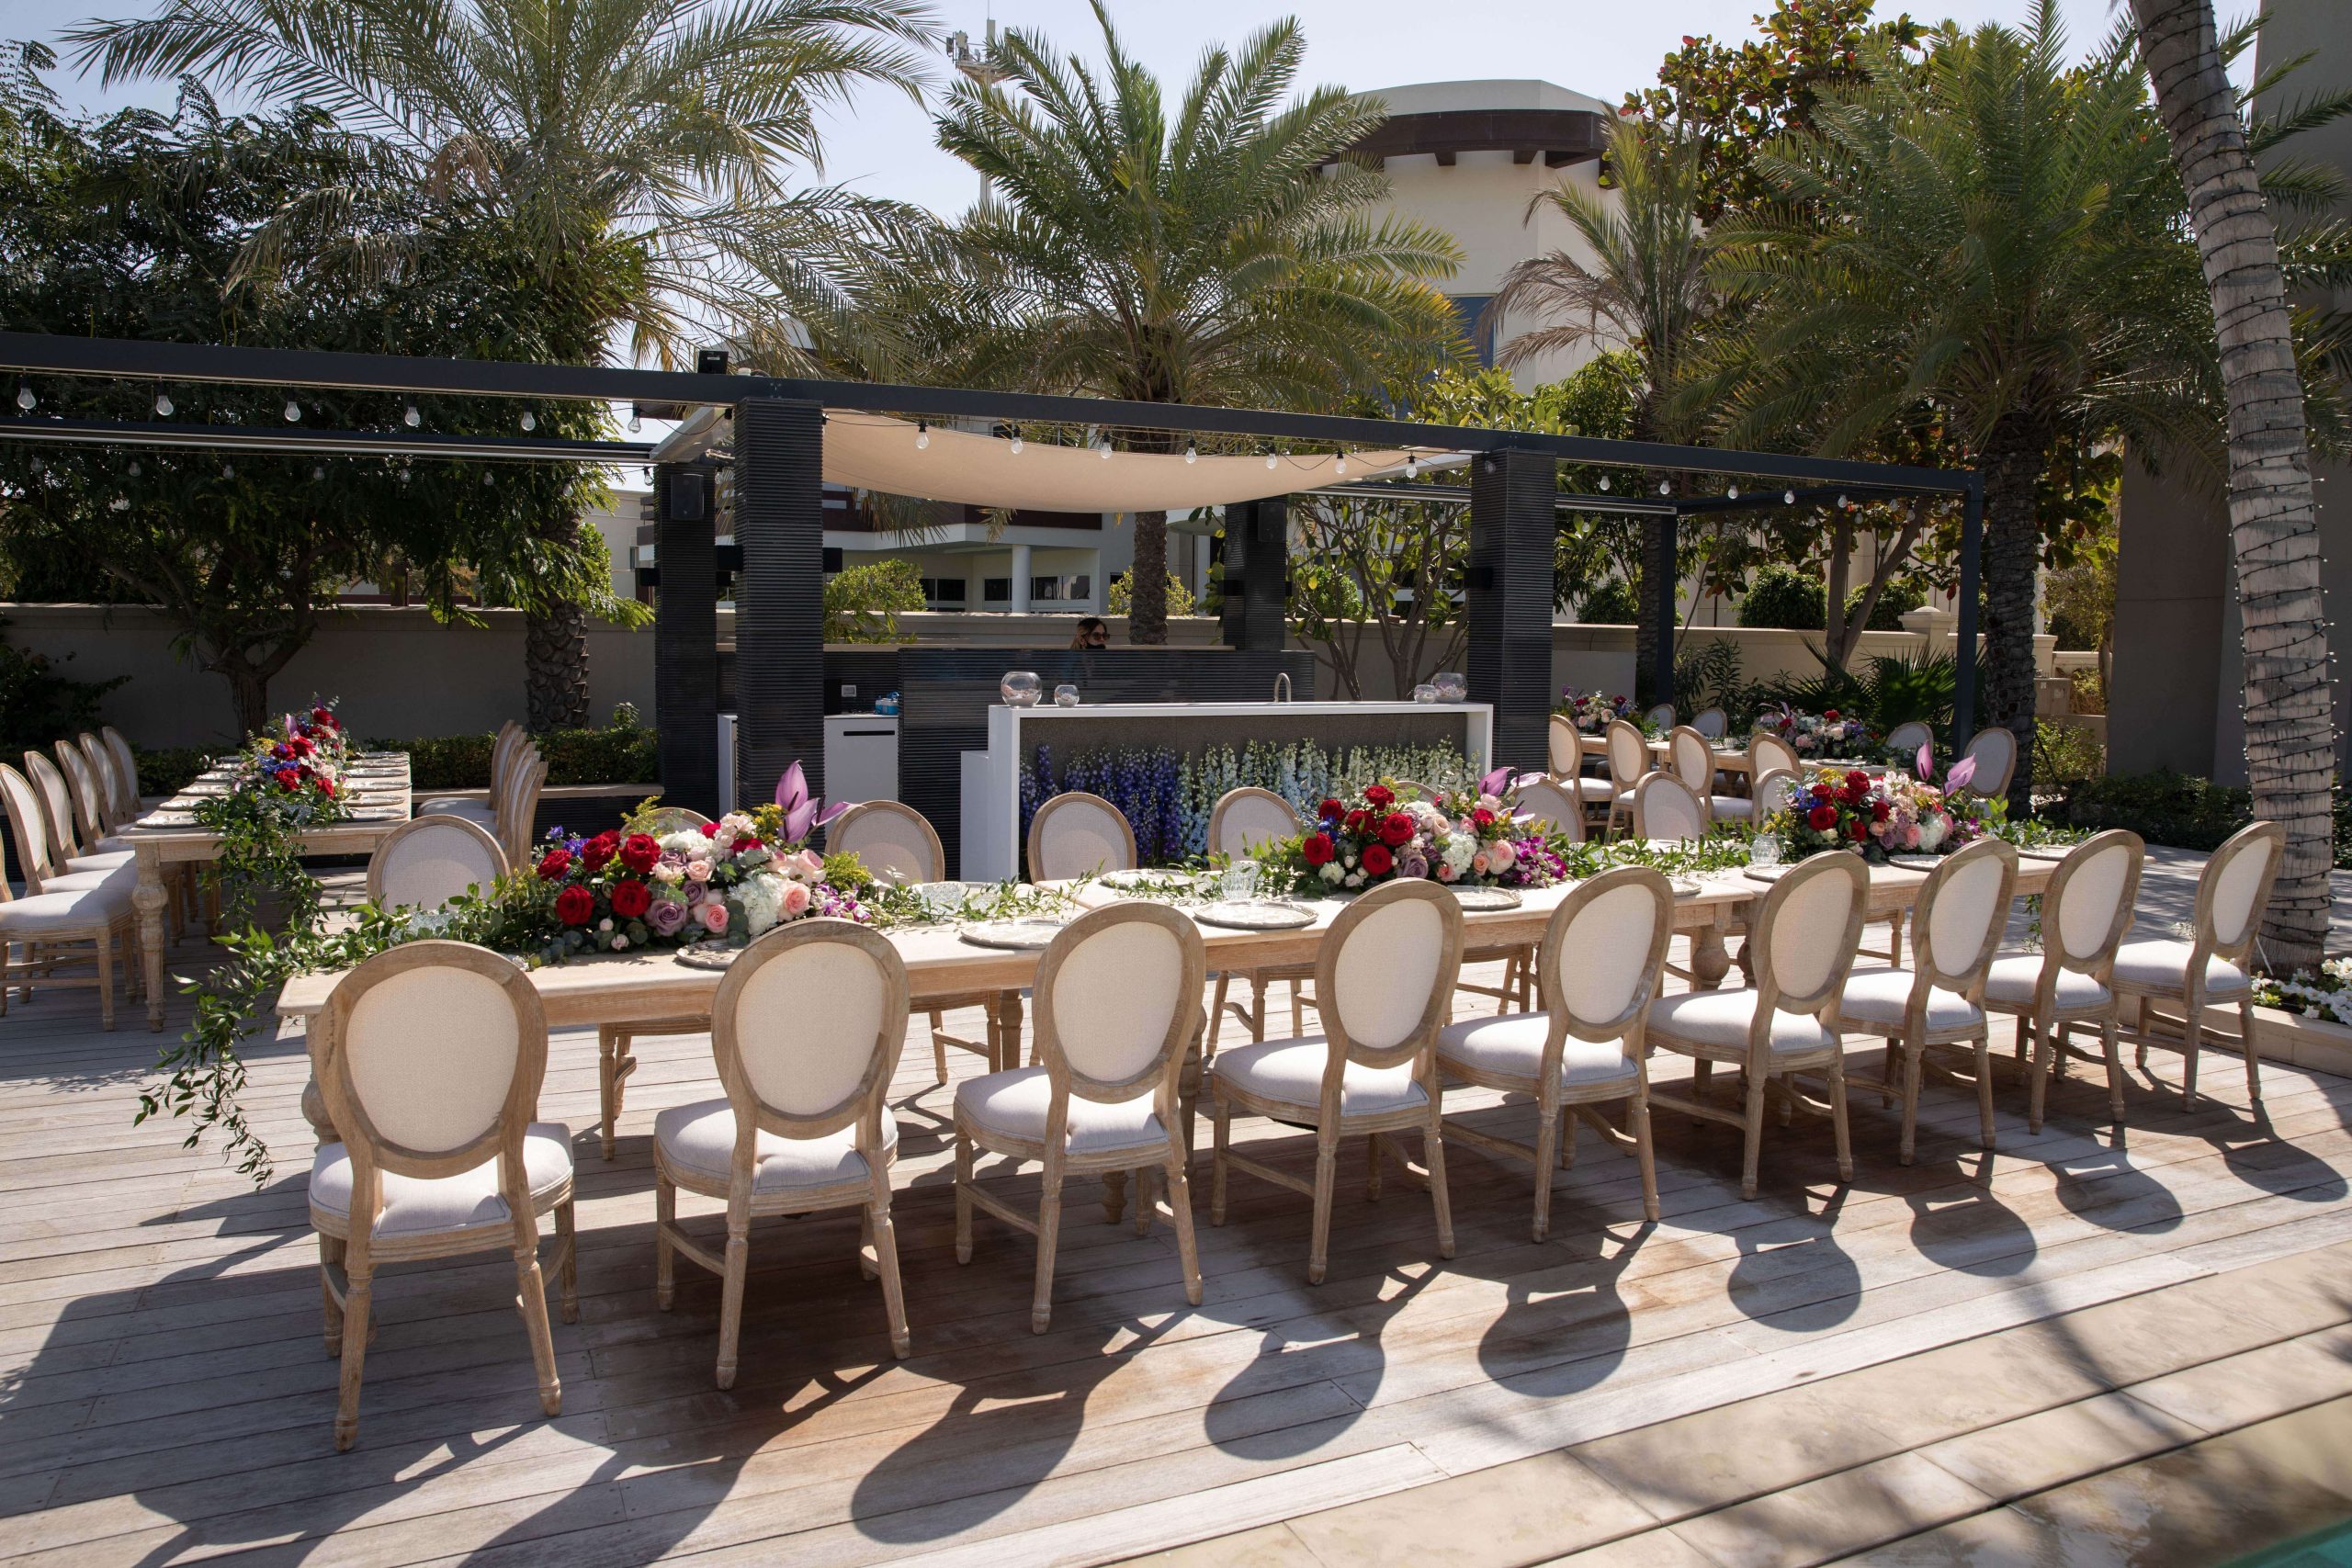
Allocate 1-2 hours for dinner, depending on how many courses you’re serving and whether you’re having a seated or buffet-style meal.
Allocate 15-30 minutes for speeches, depending on how many people speak and how long their lessons are.
Allocate 2-3 hours for dancing, depending on how long you want to dance and if you’re having a band or DJ.
Allocate time for any special moments you want to include, such as a first dance or cake-cutting ceremony. Be sure to factor in setup time and any necessary equipment or props.
Step 4: Communicate with your vendors
Once you have a solid timeline, communicate it with your vendors to ensure they are on the same page and can plan accordingly. This includes your wedding planner, photographer, caterer, DJ or band, and any other vendors you work with. Ensure to provide them with a copy of the timeline and review it to ensure they understand their role and responsibilities throughout the day.
Step 5: Remain flexible
As you get closer to your wedding day, you may need to adjust the timeline based on unforeseen circumstances or last-minute changes. Stay flexible and be prepared to make changes as required. It’s essential to have a backup plan in case of inclement weather, transportation issues, or other unforeseen events that could impact the day’s schedule.
Pro Tip: Create a communication plan with your wedding party, vendors, and coordinator to ensure everyone is aware of any changes to the timeline.
Step 6: Consider your photography needs
Talk to your photographer about the shots you want and how much time they’ll need to capture them. You may need to adjust your timeline to accommodate additional photo shoots, such as a first look or a post-ceremony photo session.
Pro-tip: Allocate an hour or more for pre-wedding photos with your bridal party and family.
Step 7: Plan for breaks and downtime
Wedding days can be long and exhausting, so planning for breaks and downtime throughout the day is essential. This may mean scheduling a few minutes to rest and recharge between activities or planning a quiet space to take a moment to yourself.
Step 8: Don’t forget about setup and cleanup
Your wedding planners will need time to set up before and clean up after the reception, so be sure to factor this into your wedding timeline. Talk to your venue and vendors about their setup and cleanup requirements and allocate enough time to ensure everything is in place before the guests arrive and that the platform is left in the same condition as it was found.
Pro-tip: If your ceremony and reception are at the same venue, this may mean allocating an extra 1-2 hours to your timeline to account for this.
Step 9: Be mindful of your guest’s needs
Your wedding day is all about you, but it’s also important to be mindful of your guests’ needs. This may mean providing snacks and refreshments during cocktail hour, scheduling enough time for guests to eat dinner and enjoy the reception, and providing transportation or accommodation options for out-of-town guests.
Conclusion
Congratulations, you have made it to the end of our guide on creating a wedding planning timeline! By now, you should clearly understand the importance of having a timeline for your big day and the step-by-step process for creating one.
How did you go about creating your wedding timeline? Share your thoughts & help other couples who are planning their special day.